The hardest part of clipping a YouTube live stream is not trimming the video. It is remembering where the useful moment happened.
A four-hour stream may contain a sharp explanation, an unexpected reaction and a question worth turning into its own video. By the time the broadcast ends, each moment is buried inside a timeline that nobody wants to scrub from the beginning.
The practical solution is a two-stage workflow: mark the moment while it is fresh, then refine the exact start and end later. That separates the time-sensitive decision from the careful editing decision.
Decide what you mean by a clip
YouTube now has several workflows that sound similar but produce different results.
- Share at Timestamp opens the original video at a chosen starting point. In April 2026, YouTube announced that this would replace the ability to create new viewer Clips. It is useful for pointing someone to a moment, but it does not define where that moment ends.
- Video Clips in YouTube Studio extract part of an existing long-form video into a separate video published on your channel. YouTube says creators can select the segment from the transcript, set timestamps or use timeline handles in the Studio video-clipping workflow.
- Live highlights let a creator add stream markers and trim a shorter highlight during or after the broadcast. YouTube documents this in its live-highlight guide.
- A clip marker in Looomy stores the interesting moment and an editable timestamp range in your creator dashboard. It does not download, duplicate or publish the footage. The original YouTube video remains the source.
That final distinction matters. Marking a moment is an organizational step; publishing a new video is an editorial step. You can capture ten possibilities during a stream without committing to upload all ten.
Mark first and edit after the stream
When something worth keeping happens, the person who notices it should need only a few seconds to record it. The creator may be presenting, playing or troubleshooting, so this is often a good moderator job.
With Looomy connected to the live chat, use:
!clip
The command records the moment and begins with the creator's configured look-back window. The default can be changed in the Content workspace, so a channel can choose a starting range that suits its format.
Add a working title when the context is already clear:
!clip database failover explanation
For a moment that needs more setup, put a duration before the title:
!clip 120 database failover explanation
That example starts with the previous 120 seconds for this clip only. It does not change the creator's default for future markers.
The title does not need to be perfect during the live stream. Its job is to make the moment recognizable when the library is reviewed later.
Give moderators a clear marking rule
Without a shared rule, one moderator may mark every laugh while another waits only for a complete tutorial. Agree on what deserves review before the stream begins.
A useful marker normally has at least one of these qualities:
- it answers a recurring audience question clearly;
- it contains a complete story, reaction or turning point;
- it demonstrates a technique that can stand on its own;
- it captures a viewer contribution the creator wants to revisit;
- it can become a timestamp, highlight, social post or editing reference.
Ask moderators to use concrete working titles. “Caching bug explained” will be easier to review than “good part.” Avoid stopping the broadcast to debate the exact wording; titles can be renamed from the clip library.
For busy streams, assign one moderator to mark moments and another to manage chat. Missing a few average moments is better than creating a library full of duplicates nobody will review.
Choose a look-back window that matches the content
The correct starting range depends on how quickly a moment develops.
| Stream format | Useful starting range | Why |
|---|---|---|
| Fast reactions or gameplay | 30–60 seconds | The payoff is usually close to the marker. |
| Technical explanations | 60–120 seconds | The setup often begins before the conclusion feels clip-worthy. |
| Interviews and stories | 90 seconds–3 minutes | A complete answer needs the question and enough context. |
| Demonstrations | Use a per-clip override | Some results need substantially more setup than the channel's usual moment. |
Treat these as review ranges, not mandatory publishing lengths. A generous marker protects the beginning of the idea; the final trim should remove anything the viewer does not need.
Refine the IN and OUT points visually
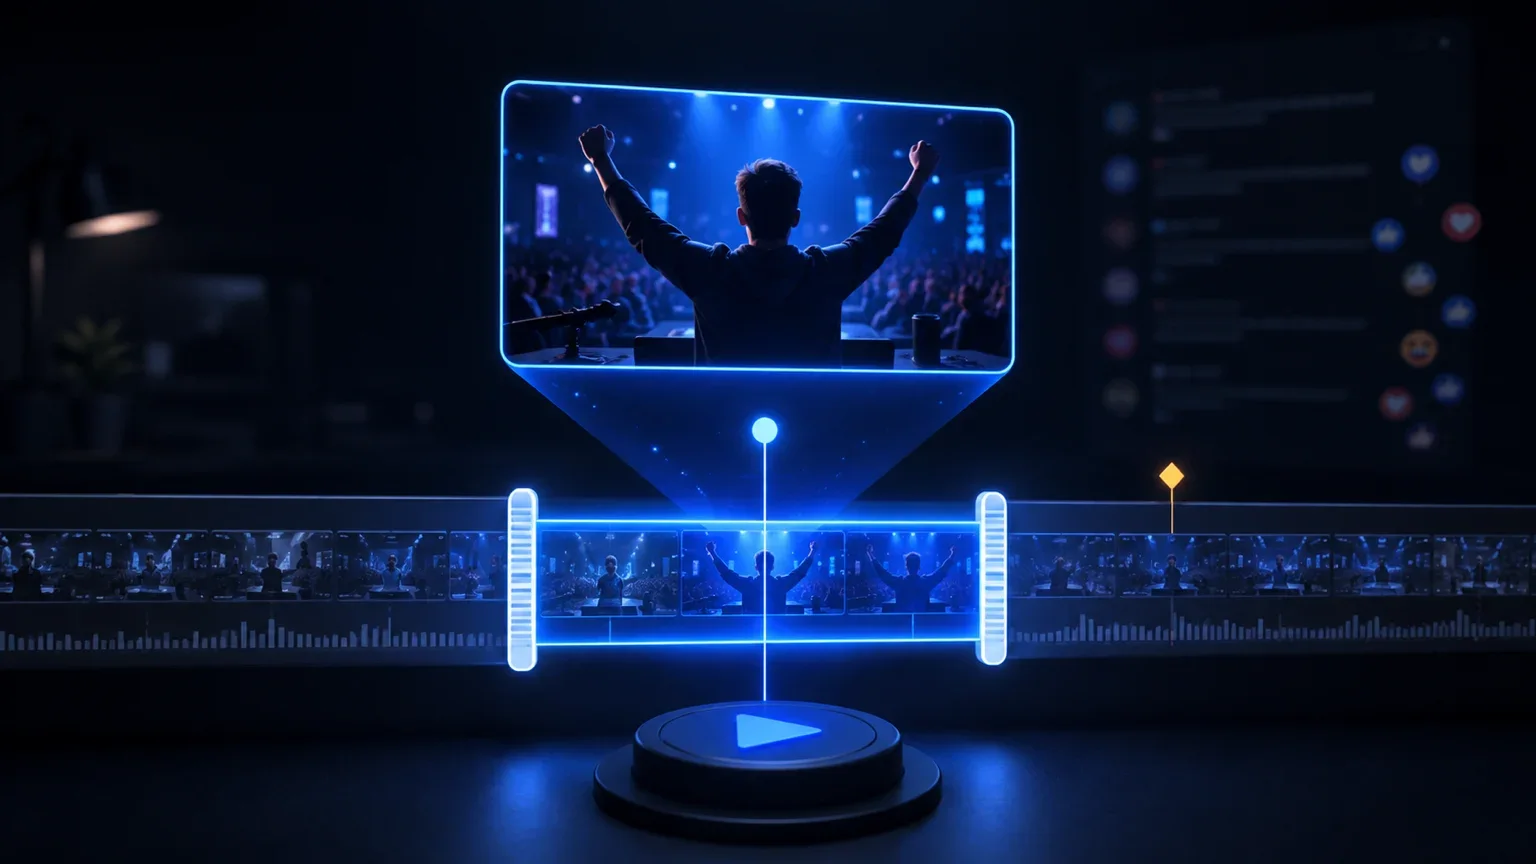
After the stream, open the clip library and play each saved moment before changing it. Rename the strongest candidates in place, then open the timing editor only when a range needs adjustment.
Use the timeline in this order:
- Find the first necessary sentence or action. Move the IN point just before it, leaving enough space for the beginning to feel intentional.
- Find the payoff. Let the result, reaction or final sentence land before moving the OUT point.
- Move the complete selection when the duration is right but the position is wrong. This is faster than adjusting both edges independently.
- Move the playhead to inspect a precise point. Playback should begin from that location without changing the saved range.
- Replay the selection once. If the viewer needs information that exists outside the clip, either widen the range or choose a more self-contained moment.
For long broadcasts, stay in the focused timeline view while making precise changes. Zoom out to the full video only when you need broader context. During an active broadcast, that wider view represents the stream available so far rather than a finished video.
Understand the live-playback limitation
A marker can be safely recorded while the stream is live even when the corresponding footage cannot be previewed immediately.
YouTube's DVR setting determines whether viewers can pause and rewind an active broadcast. YouTube notes that DVR can be limited for very long streams and that viewers cannot seek to a point before the broadcast began; its DVR documentation explains the current behavior.
If an older marked moment falls outside the available DVR window, preserve its timestamp and review it after YouTube processes the recording. A temporary preview limitation should not erase the editorial decision made during the live moment.
This is another reason to store markers rather than relying on browser tabs or handwritten notes. The moment remains attached to its stream, title and selected range even when the video is still becoming available.
Turn the library into an editing queue
Not every marker needs to become a standalone upload. Review the library and choose an outcome for each useful moment:
- copy a timestamped YouTube link for a viewer or collaborator;
- use the IN and OUT timecodes in an external editor;
- create a live highlight in YouTube Studio;
- extract a separate video with YouTube Studio's clipping tools;
- keep the marker as a reference for a future compilation;
- delete it when the moment no longer feels useful.
This keeps capture lightweight. The live team records possibilities, while the creator retains control over what gets published.
Use a repeatable post-stream checklist
Run this review while the broadcast is still familiar:
- Remove obvious duplicates and accidental markers.
- Rename vague titles so each row explains the moment.
- Play the complete selected range with sound.
- Tighten the IN point without cutting off context.
- Let the OUT point breathe after the payoff.
- Copy the link or timecodes into the publishing workflow.
- Record which kinds of moments performed well and update the moderator rule for the next stream.
The goal is not to produce the maximum number of clips. It is to make the best moments easy to find before the memory of the stream disappears.
Capture the moment when the audience notices it
An effective YouTube live-stream clipping workflow begins during the broadcast but does not interrupt it. A short chat command records the audience's judgment; a focused timeline supports the careful decision afterward.
That combination is especially valuable for long streams. Instead of searching four hours of footage for something you vaguely remember, you begin with a named, playable range and refine it from there.
Connect your channel through Looomy, choose a default clip window and give your moderators one clear marking rule before the next live stream.